Today on Repairs101 I’ve got my ten year old mower on blocks for a tune up and I’m going to show you how to pimp it out. Nah, I’m just kidding.
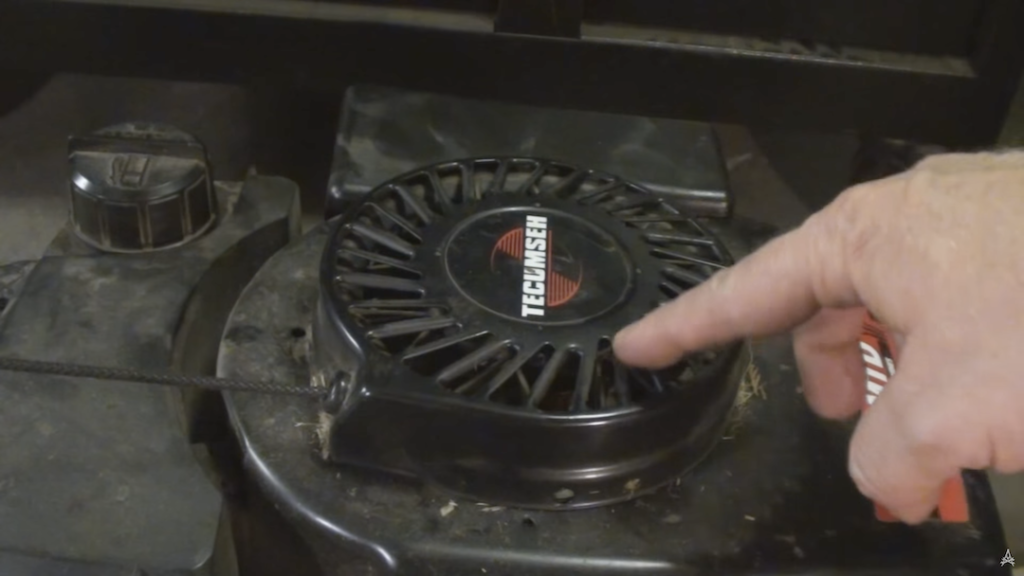
You don’t have to block yours up as high as I did. I just did this for the sake of making it easier to film. All you really need to do is put it up on a couple of bricks or on the edge of your workbench or something like that. So the first thing I’m going to tell you but not show you is “Run it dry”. OK I run it dry every time I use it.
Spark plug
The next thing you want to do is pull the spark plug out of it so I’m just going to pull the wire off, push it aside. Put a socket wrench on it nice and easy, spin it out and have a look.
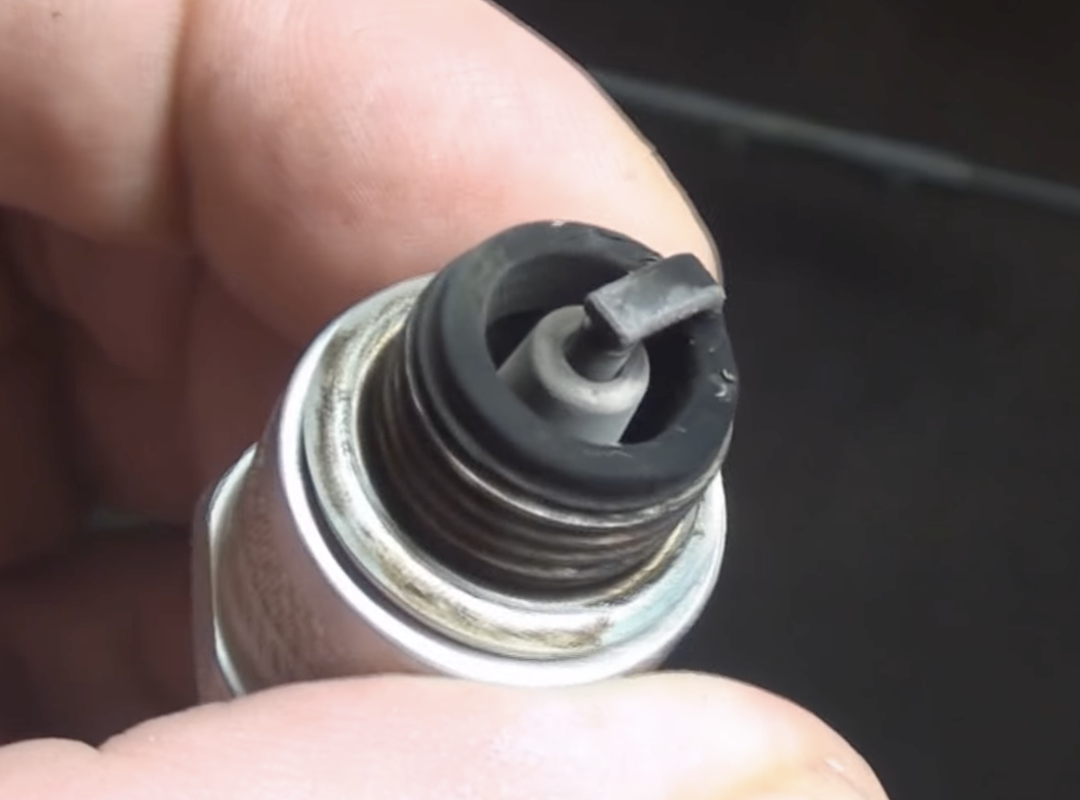
It’s quite clean, it’s got some blackness to it but there’s no large deposits. Looking at the insulator around the electrode in the centre, that’s not cracked, that’s very important. Inspect the insulator, here’s the insulator on the outside. That’s the electrode.
This sparkplug is a little bit blackened, a little bit fouled, you would say. Now the most likely cause of this is overfuelling or a rich fuel condition. Reasons for a blackened or carbon deposited spark plug would include things like too rich a fuel mixture or a sticking choke or a clogged air cleaner, you know, anything that’s going to increase the fuel in the fuel : air ratio. Also a good possibility is oil seeping past the rings on the compression piston and getting up into the combustion chamber and fouling it. So what we’ll do is a quick compression test and have a look and see what kind of numbers we’re pulling.

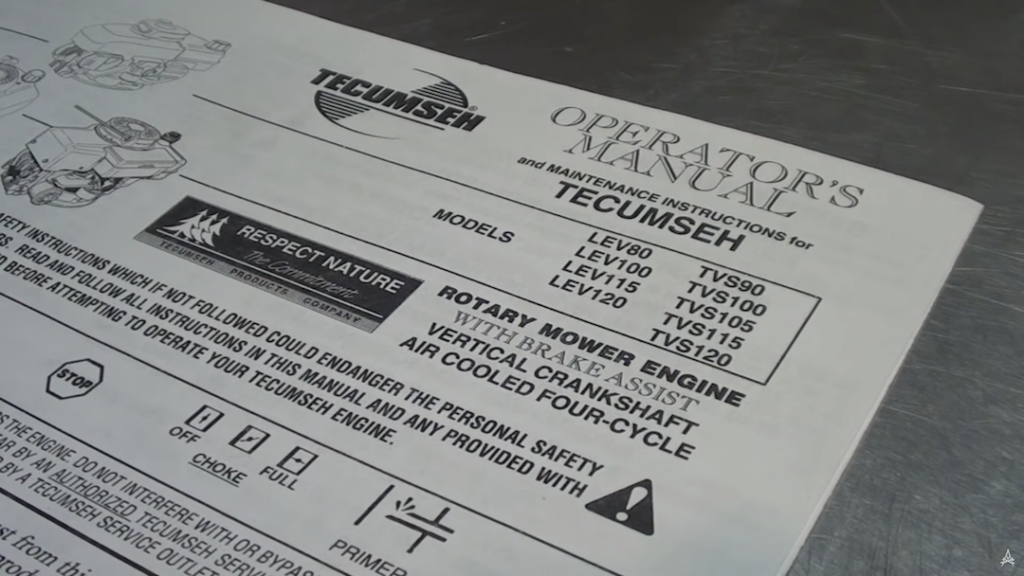
I had the good sense to hold onto the literature that came with the lawn mower when I bought it ten years ago. See it says right here the gap on the spark plug should be thirty-thou so we’ll just check that with the feeler gauges. It’s pretty much a perfect fit for thirty-thou so there’s nothing wrong with our gap. Clean it up with a nice soft wire brush and reuse it.
Compression
OK so I looked around online to see if I could find some technical specifications for this engine. A new machine like this will make about eighty psi in pressure. Sixty psi on the other hand is generally agreed to be acceptable. Consensus seems to be that it’ll still cut grass acceptably under normal conditions even with a twenty-five percent loss in compression.
OK I’ve done a dry compression test and the results are in we’ve got eighty psi and its been holding eighty psi for five minutes now. OK now the wet compression test is eighty psi. This ten year old lawn mower of mine is making the same compression it did the day it came out of the factory.

OK so we’re going under and we’ll have a look. While we’re in her of course we’ll take a look at the main seal on the end of the crankshaft and it looks nice and dry, as you can see so there’s nothing to worry about there, we’re not losing any crankcase oil. Oil residue built up here around the drain plug. So either my drain plug’s been weeping a little tiny bit or it’s spillage from above. Which s just as likely, I think. So it’s a three eights inch square drive, I’ll just take this old toothbrush and clean up the…
Oil change
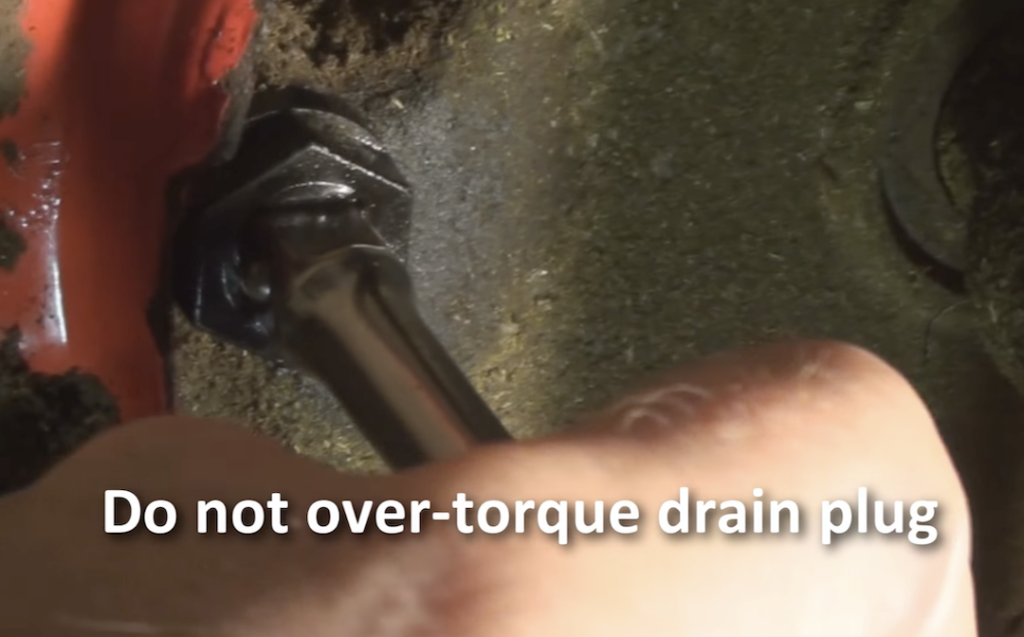
Always going to see a little bit dripping out of course but when it gets down to a slow drip like this it’s time to put the plug back in and fill up the crankcase with fresh oil. I’m going to clean up the surface where the plug seats here, make sure that’s nice and clean, in spite of the fact that it’s still dripping. And I’ve already cleaned up my plug so I’m just going to go ahead and drop it in. There we go. We’ll just tighten that down a little bit.
Just give it a little cleaning. Make sure that you can’t get this dirt accumulation here down into your crankcase. That’s the main thing here. Give it a little shot.
Be sure not to overfill the crankcase. One of the problems you can get is too high of a base pressure and what will happen then is the engine’s not breathing properly so it’ll start misbehaving on you.
Air cleaner
OK so the next thing you want to look at is your air cleaner. You just push on this spot right here and that releases the lid. So we just pop that off. Pop the cover off and here it is right here. Now the air cleaner is this piece of low density foam that you can of course just replicate. Grab another similar piece of foam and cut a new one. And you know we’ve got some garden debris that’s been picked up in the top of it, I’d say all we need to do is vacuum it real quick, blow it real quick and I’m ready to reuse it.
And of course this is the air intake screen right here and you want to keep this free of debris. When you’re mowing leaves and things, grass clippings often will start to come up inside here and it travels through the body and into that filter housing that I just showed you right there and into this filter.
OK so we’re going to pop the air cleaner housing off and it’s just held on by two screws one on either side of the carburetor intake right here. Now I’ve got the screws out I just need to take the lid off and you see that, it just falls right away. OK so that’s what the air intake system looks like. From this fan just under this grate here and it picks it up through this tube which is inserted in here.
Governor
I’ll just do a little general clean up here before I put it back together. As you can see the springs and things have a little bit of garden debris on them. This is the governor mechanism right here. This is a breather tube which I try and keep clean and be certain to reconnect when I put it back together.
Anyway, so there is no adjustment here. The only adjustment I can make is I can bend this metal tang. Right here that the governor spring is controlled by and that will speed up my high end.
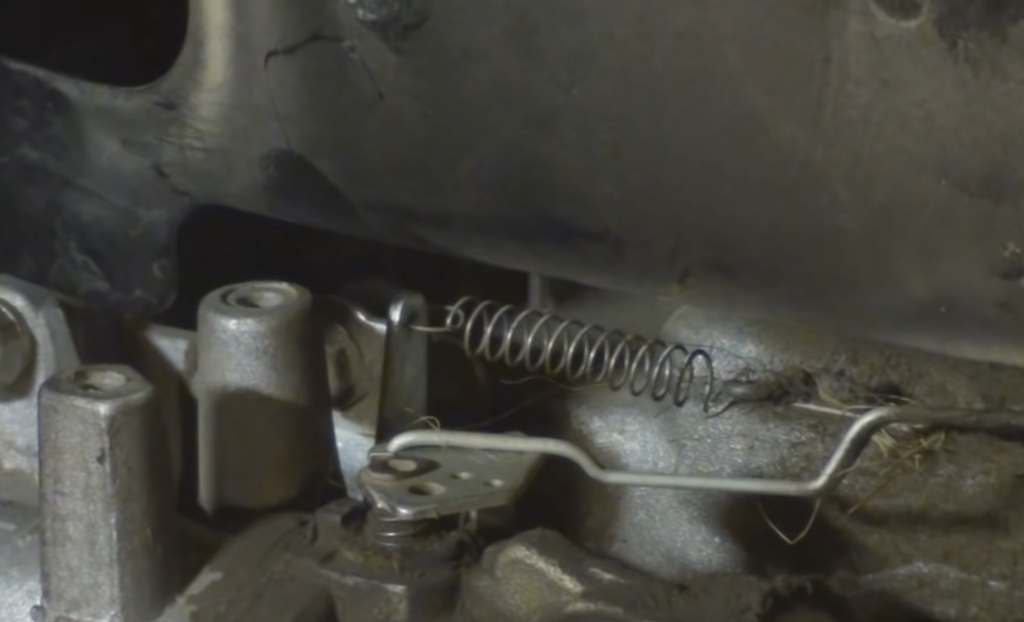
This is the governor spring right here and this metal tang here is its anchor point. Stretch the spring further to speed it up or compress the spring a tiny bit to slow it down. In this case, I’m burning a little too rich. So I’m going to add a tiny bit of speed to the top end. There we go. I just bent it a tiny, tiny bit.
Breather
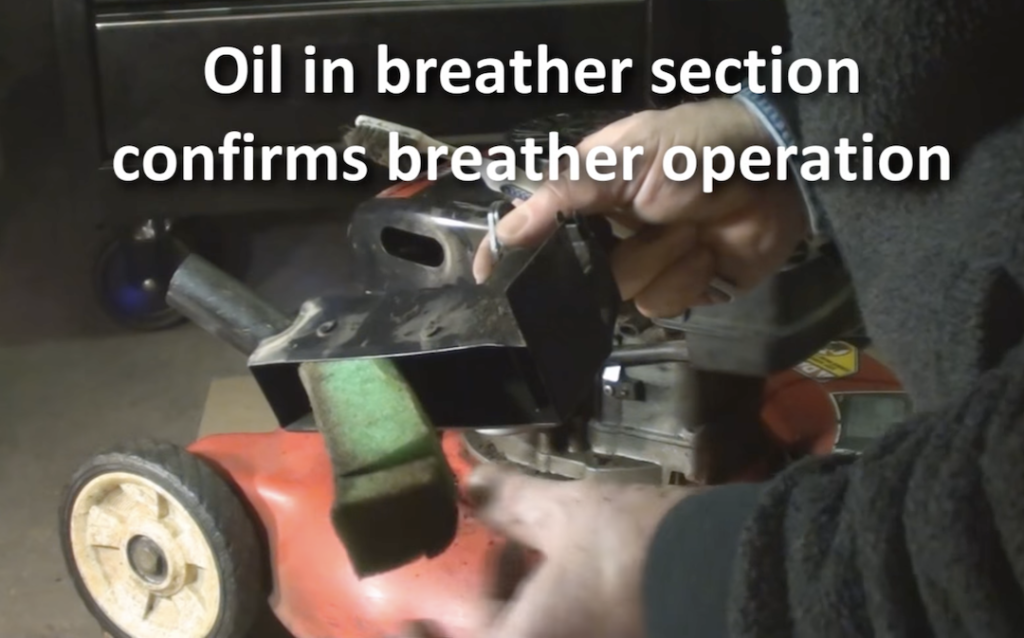
So more of the same for this, of course, you just want to clean that up, especially the breather. Breather vent right there. Make sure that that’s clear and you can take out the sponge. You see there’s a separate section cut in the sponge just for the breather. I can put my finger in there, it’s certainly working. I can see light coming through it so it’s certainly clear. I’m just going to take a rag.
That’s got a nice thick rubber gasket. We want to preserve that so it gets a nice seal here on this aluminium deck. Tuck the pick-up into this here, swing it over towards, line up my hose for the breather. OK so there’s the breather hose and there’s the port for it on the air cleaner. You just want to mate them up and insert it into that hose there – there we go. Line up my breather hose, there it goes, it just pops right on nice and easy. Then we’re ready to put those screws back in.
Cooling fins
The best reason of all to keep your machine clean is that these fins are the cooling surface area of the machine. It’s air cooled and it depends on these fins to provide it with a larger surface area with which to exchange heat with the air outside. So if you pack that with lawn clippings and other organic matter it’s going to become insulated. And not be able to do the heat exchange it needs in order to operate efficiently.
Here we go: I’m just going to put in my spark-plug after giving it a quick check. Now you definitely may want to change your sparkplugs. They’re cheap and sometimes if you have a no-start/no-run problem it could be as simple as a dead plug. It’s such a common problem that if you still have a no-start/no-run problem… It’s not a bad idea to go get a second new plug. To make sure that the brand-new new plug that you just tried isn’t also dead.
Where there’s smoke…
And, well be prepared for a good deal of smoke in the first couple of minutes if you’ve done a wet compression test like I have. It’ll be a little smoky at start up. It might even take a couple of pulls because it’s harder to ignite the oil. But it’ll start and it’ll burn off. So the other thing you would consider is if this is a winterization. A lot of guys will tell you to leave the sparkplug out and just put a rag covering the hole but I respectfully disagree. You know, I’ve got a lot of internal combustion engines and I store them all with the spark-plug in it. Whether it’s out on the street or in the back yard or in my basement or in my garage. All my internal combustion engines have the sparkplug stored in them.
Ready for work
So if you’re doing a spring tune-up you’re ready to go. Get some fresh fuel in it pull the cord and it should start right up for you. If it doesn’t, well check out some of my other videos. Where we’ll discuss some of the basic problems people have with getting their mowers running in the springtime. My philosophy on almost any machine is… If it didn’t quit on you while it was running – if you shut it down, then it will run again. But if it quit on you while it was running, well…
[laughs]
you could be in for a world of pain.
[Mower starts]
OK now I’ve run the machine for an hour after the tune up and – check it out. It’s starting to whiten. OK, it’s obviously hotter over on this side, you can see that. Spark is hotter on that side but it’s starting to whiten up which means something’s worked. Either the tune-up or the raising of the operating speed has leaned out the mixture enough that we’re starting to get a nice clean burn.