
Hi. Today on Repairs 101 I’m going to show you some of the basics you need to know about laying spackle.

Gear
Obviously you’re going to need some Spackle — you’re going to need some spackle or Polyfilla is one of the most popular brands, I prefer to use the “ready made” kind. Anyways.
So you’re going to need some very basic tools like a draw scraper is a nice thing to have.
A putty scraper, putty knife – putty scraper also a great tool to have. Plastic scraper, that’s the one I use to do virtually all the work. You need a sheet of sandpaper and a sanding block. And you’re definitely going to need coffee.

Don’t be shy
OK so I’ll just pull this old plug out — oops — if I can. There we go. OK so you’ve got some holes that need spacklin’. Don’t be shy. Get in there with your favourite scraper. Make sure that you get rid of all the loose material because you’re not going to want it there to fall off later. OK so I got a little tub about six dollars for that. One thing I can tell you about spackle as well as virtually any other product like caulking. The trick to handling it is not handling it — not handling it.

I’m going to get it out of the tub with this putty scraper. I’m going to apply it to the wall with that. And I’m going to smooth it off with this scraper right here. A nice flexible plastic one. You just want to get up to the hole and push it on, push it in. The main thing here is to get it on.
You can see it’s rough, it’s seamed. I’m leaving all kinds of seams on it that, you know. If you’re a perfectionist you might be inclined to overwork this. Try and get it perfectly flat like I’m doing right now but it’s not really necessary. OK you don’t have to do that kind of detail you can just daub it on and smear it off and you’re good. Daub it on, smear it off. That’s the way the pros do it. If there’s a seam on it don’t worry about it, when it dries you can sand it off. Daub it on, smear it off. Daub it on. If you’ve got a lot to cover you’ll want to be able to do it fast and easy. Here this one could use another layer. I’ll just sand these rough parts out tomorrow when it’s dry.
Handiwork

A lot of people, when they’re not comfortable with what they’re doing, is they’ll use their finger. I’ve seen that a lot of times. People think it’s easier to just put it on the end of their finger. And then they can push it in the hole. But it really isn’t good to be contaminating the product with your finger oils and sweats and the dirt that you’ve picked up on your hands the chalkiness. You want to use something clean like this flat scraper here. The night before you’re going to paint go around and fill all your holes.
OK so I’m just going to take an ordinary sixty grit sheet of sandpaper and fold it in half. Score along it like that and then take the halves and fold them in half again. What you want is a strip of a quarter of a sheet of paper like this.

Take my old sanding block here it’s just a pre-formed rubber block with some little steel spikes inside of it. OK so you’ve got your strip of a quarter sheet of sandpaper and your sanding block. Now if you’ve never seen one it’s just got a rubber flap with some spikes inside of it. You just take your sheet of sandpaper, you line it up, you put it on there like that. It bites down onto it and you just curl it around the other side like that. And again stick it in so that the teeth bite onto it and you’ve got a real nice grip on it. It’s quite comfortable to use.
Safety
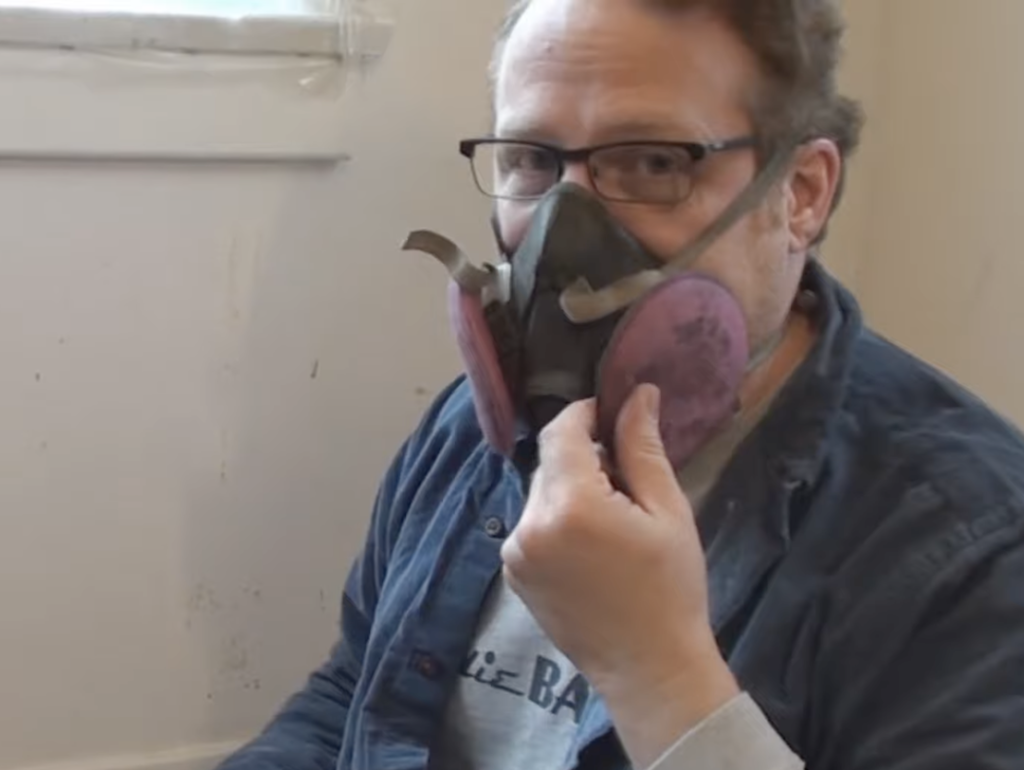
And then you put on your respirator with the dust filter cartridges. Alright well I don’t know how well you can see it but here’s an area I did in one coat. You can see there’s just a tiny little dimple there because it was quite a deep fill. After it dried it shrank a little bit and created a little tiny depression. But I sanded it and I painted over it and I think it looks terrific.


