– How to do it OldSchool
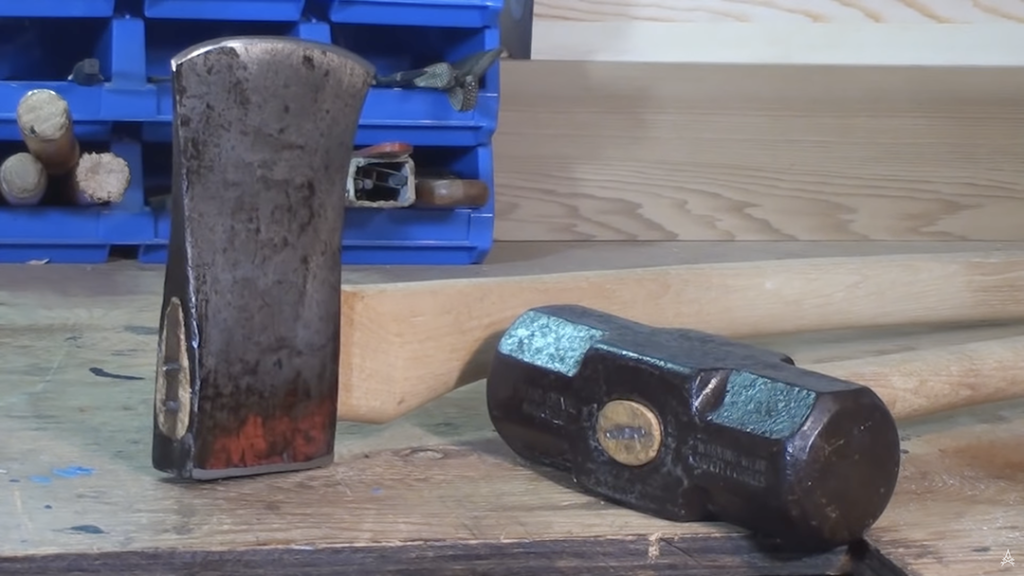
Alright so today on Repairs101. I’ve collected a whole bunch of tools over here that need their handles replaced. (handle replacement) And I’ve got a bunch of wooden handles and I’m going to show you how it’s done.

So this is definitely an example of how not to secure your handle to your tool head. You want to get the old handle out by whatever means necessary.
The kerf
It’s critically important that you know where the bottom of the kerf is so that you can insert it properly into the tool head. So mark it with a pencil.
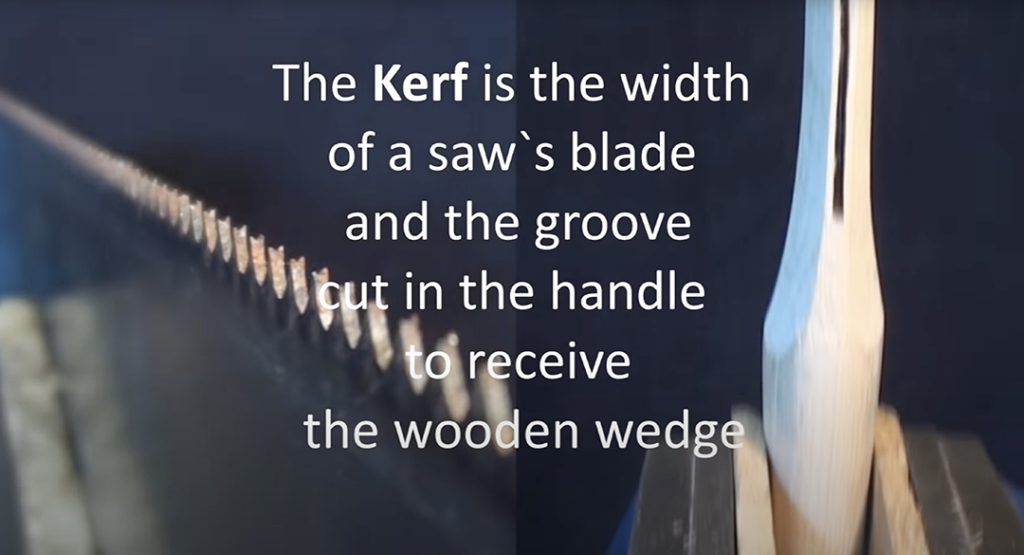
Fit the handle through a series of trials observing where the witness marks indicate the base of the tool head lands in relation to the bottom of the kerf.
Never pound the handle on the ground or hit it with a steel striking surface like a hammer. It will crack the handle base. Instead choose a nice beating stick from your firewood pile, something with a little heft.
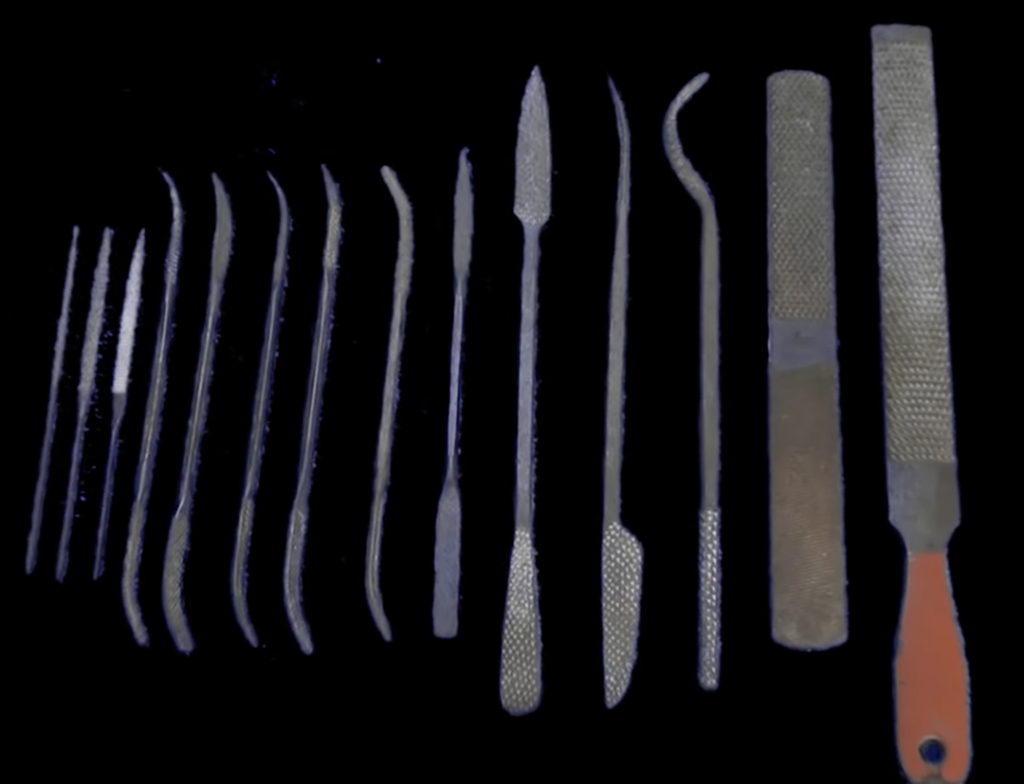
You can use any number of tools to reduce the handle including the axe head itself. I’ve collected quite a number of rasps and rifflers over the years. As I like to do the odd bit of wood carving. Or you could use some sandpaper, say one twenty grit or something even coarser.
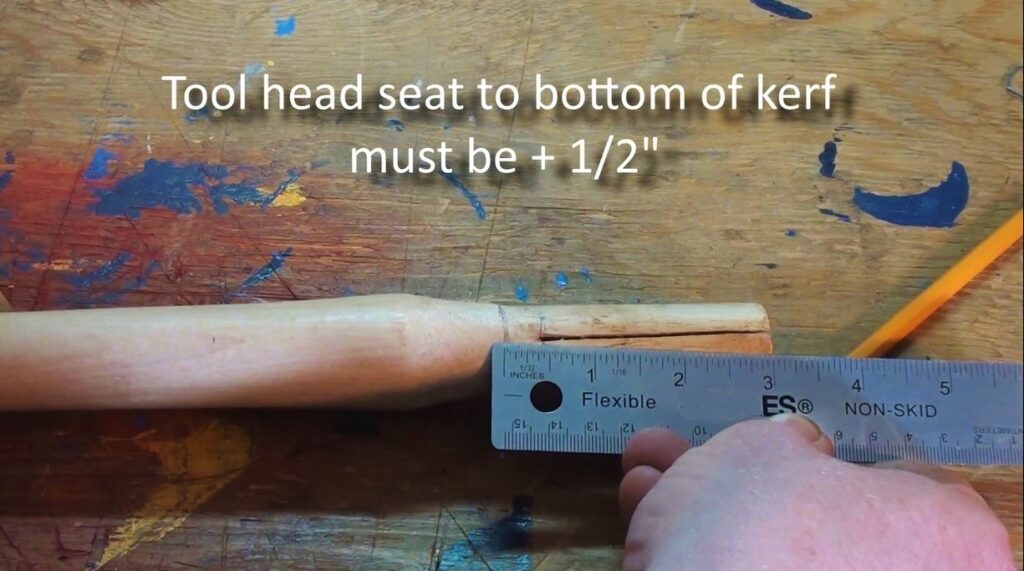
Again. It’s critically important that the base of the head extend at least a half an inch beyond the bottom of the kerf. You want a tight fit with no gaps showing.
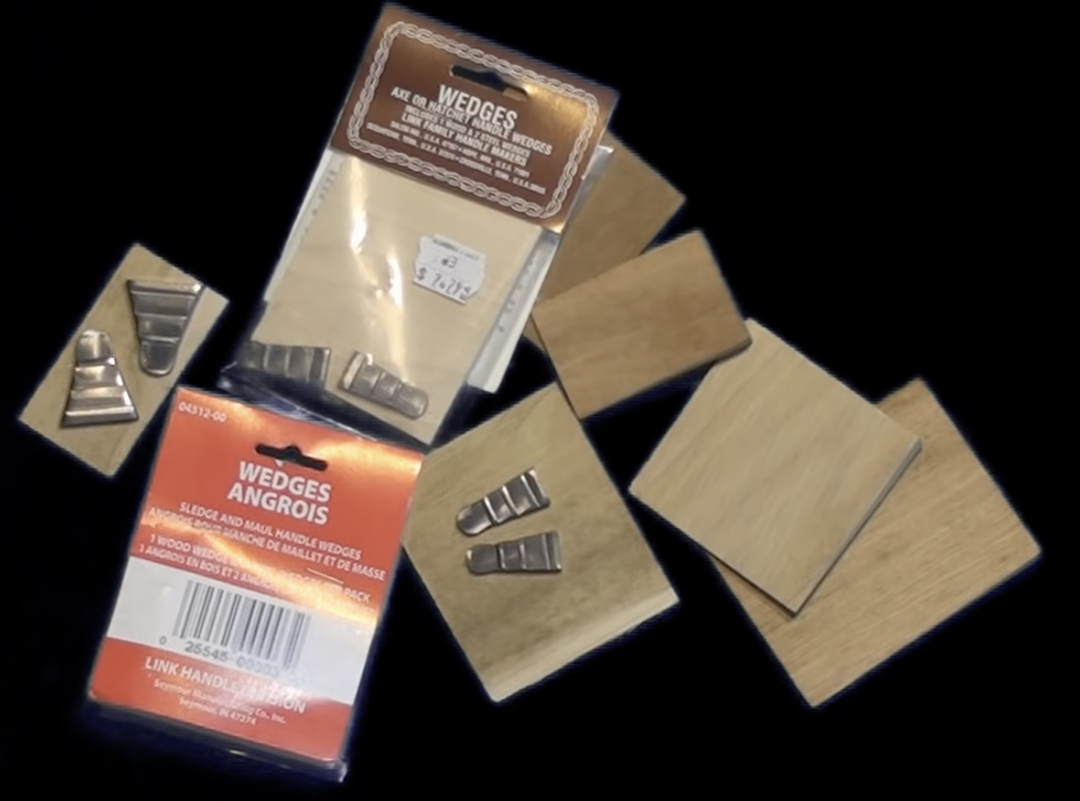
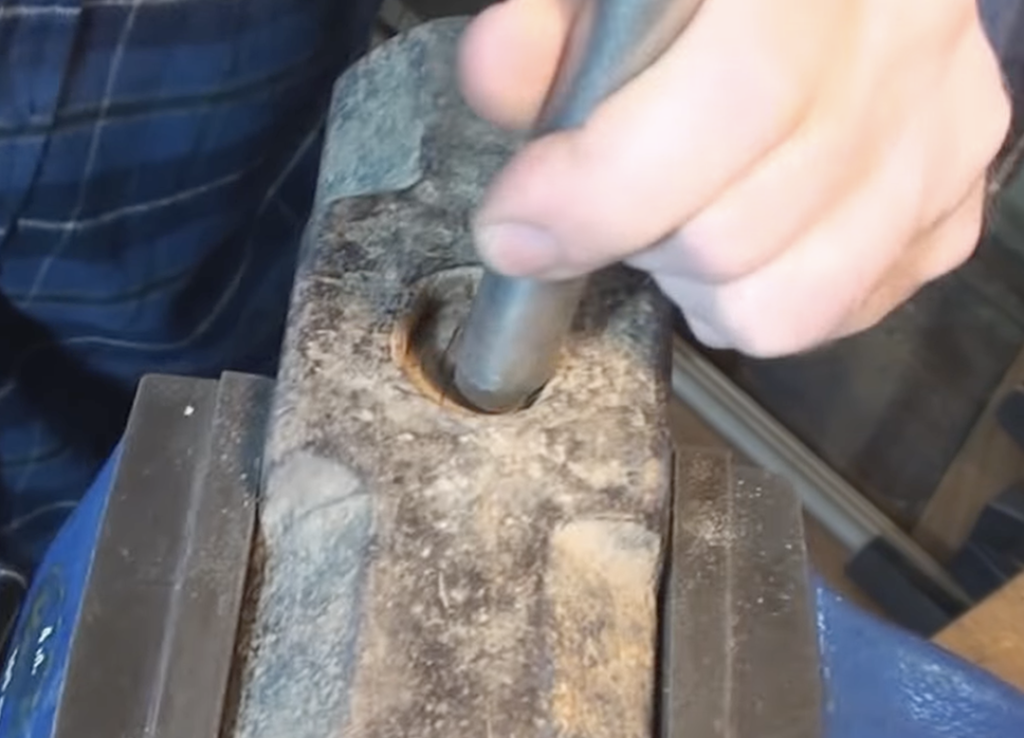
The wedge
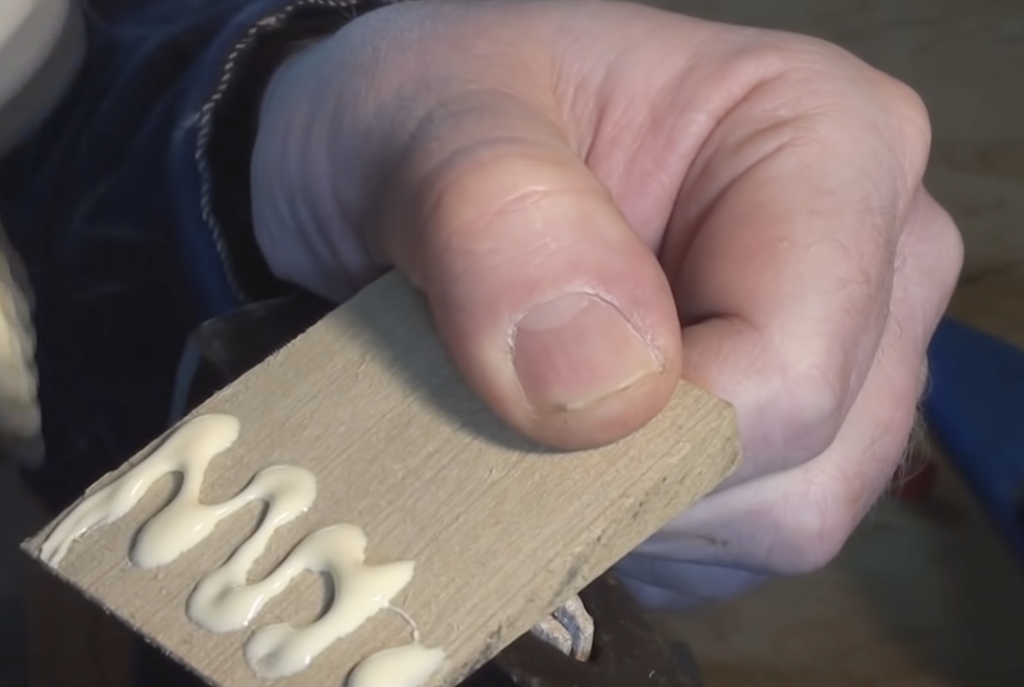
A little carpenter’s glue will make sure the wedge can never slip out.
Now I’ve seen a lot of different styles of steel wedge placement in the past. And I think the lesson there is that there is no one way to do it. They say more than one road leads to Rome and hey it’s true! Check it out there’s even an airport.
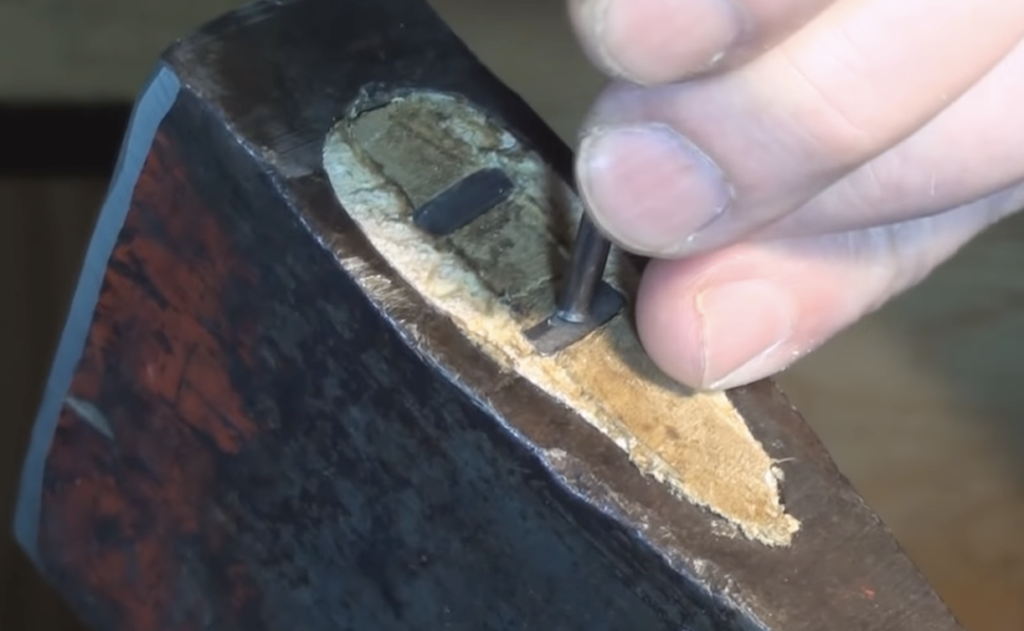
You definitely want to counter-sink your steel wedges a little bit. Can turn a larger steel wedge diagonally to make sure it fits without touching on the edges. You see I didn’t get this one quite centered but it’ll be fine. Recently I’ve been using Mineral Oil to protect wood because it’s cheap, non-toxic and available at almost any pharmacy.