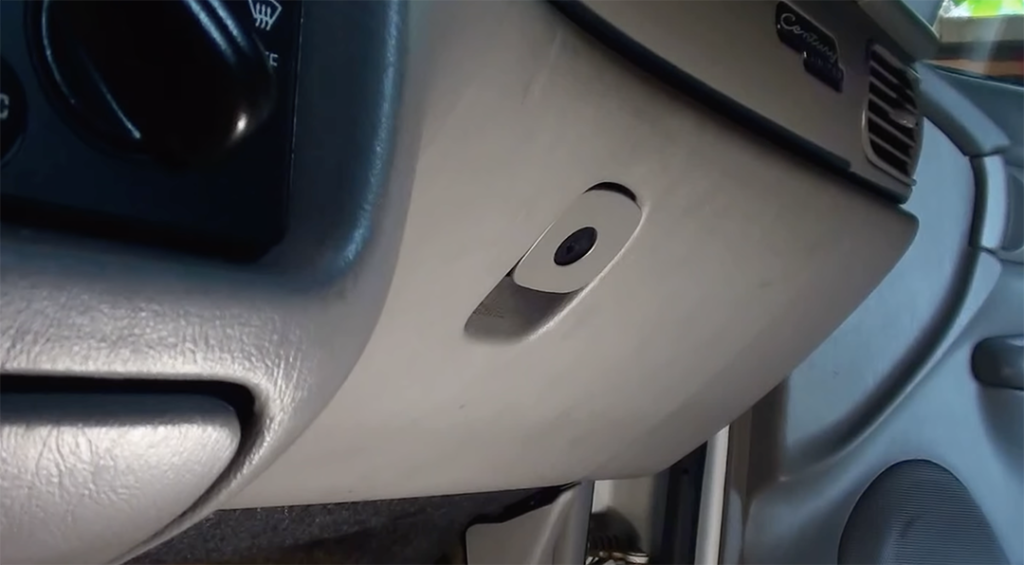
So today on Repairs101 I’ve got my 2000 Buick Century under the carport. It’s got a broken glove box from my stuffing it full of junk when I was out travelling in it recently.
Not my first rodeo
So it’s the second time, actually, that I’ve done this repair. It had a broken glove box when I bought the car. I know exactly what to do. We’re going to get some J-B Weld steel reinforced quick setting epoxy. And we’re going to slap it back together and I’ll show you how it’s done.
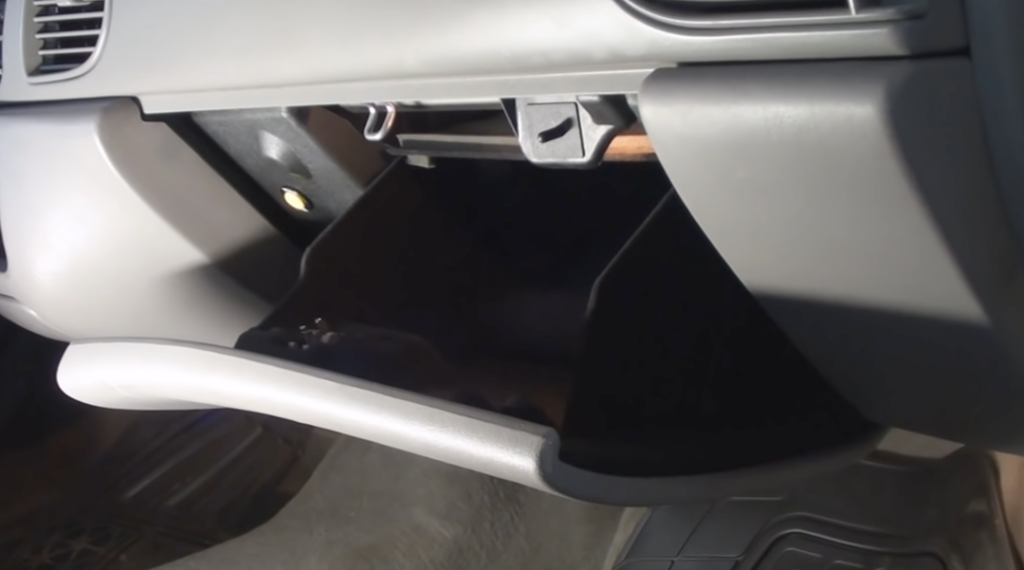
Alright this one’s my fault. I recently was travelling in my car and I overloaded my glove box here. I broke it off at the hinge. So I’ve done this very same repair on this car before. It’s just a matter of working it out. There’s a little bumper on each side of the end of it that you just sort of need to wiggle out. Let’s try it that way – oh yeah, that’s the way. OK so we’ll just pull that out.
OK so I’m going to disconnect this light here. Because I’m going to be leaving the car without the glove box in it until I do the repair. Just pull on that little tab there then pull back on the wire. OK I’ve got to get this hinge off. I mentioned before in a previous video that I like to keep my sockets on a rail and here’s why. Because I don’t know what size this is but I do know that it’ll be on my rail.
OK so here’s the broken part you can see the old epoxy across the tip of it. You can see the plastic nubs. All you need to do is get the glove box out like you just saw me do. Disconnect the wire on the light and just pull the carpeting back a little bit.


Life hack
So here’s an old mechanic’s trick you might not know. If you can’t see it very easily – which I can’t in this case because of the carpeting. Push your finger up against it until it makes an impression on your finger and then you can see exactly what kind of fastener it is that you’re dealing with by this little impression that it leaves on your finger.
And then I’m going to take my rail and I’m going to compare and say “oh, it’s somewhere around this size right here, maybe this one.” Let’s give that a try. [ Ratcheting.] Let’s just say for instance this mud-flap’s here’s got a screw on it that I can’t see. So I’ll push my finger up against it. Hold it down real hard until I can make an impression – looks like about a medium sized Phillips head screwdriver. OK and I got that just from pushing hard and there you go. In a few minutes my finger will be as good as new.

Alright so the screws are out and there’s the hinge. Here’s the box. We’ll just take it all inside.
J-B Weld
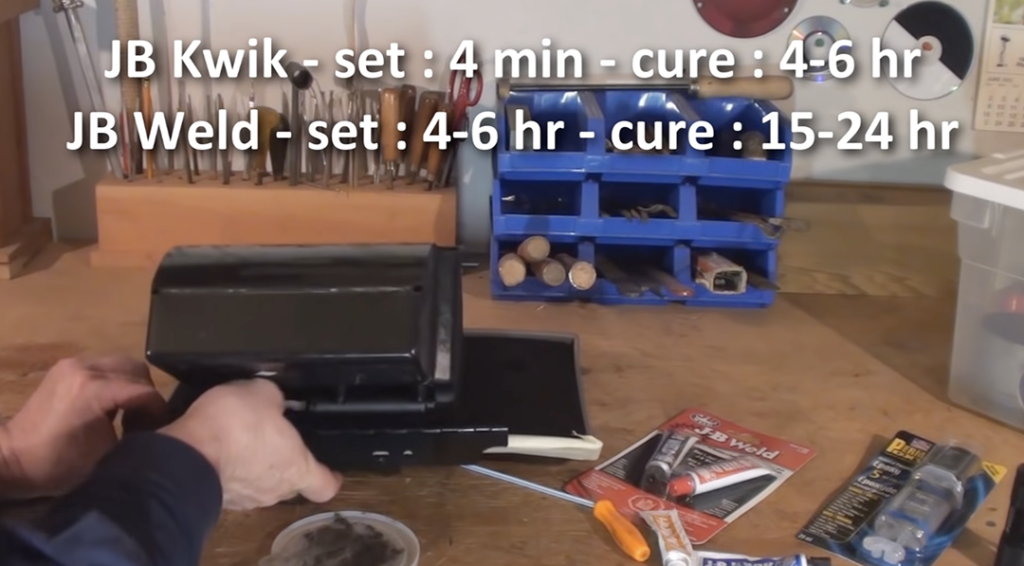
So there we have the glove-box out of my 2000 Buick Century. OK so you can see the hinge was mounted by driving these screws into these plastic holes that were part of the moulded plastic under-body of the glove box itself. I’m going with JB Weld, I’ve been using it a lot recently. This one in my hand here is the slow setting – a very, very strong product. They also make another product called JB Kwik. OK here’s an open package of J-B KWIK epoxy resin and hardener that I’ve used before. And I’m going to use on this project because it’s already opened. And I know that a five minute epoxy is good enough.
OK so I’m just going to get in here with my screwdriver and see if there’s anything that’s loose that I can remove. The epoxy that I put in before is holding nicely, it’s just that I broke it – put too much stress against it and it shattered. You can see it’s just a very light plastic fabrication. There’s the last one there on the end. You can see, you know it’s not a lot of surface area there to bond to so you’re going to need something that’s quite strong.
Other epoxies are brittle
OK I’ll just put some tape across the face of this thing to protect it from any stray epoxy that might get away from me here. Put a little across the back like that.
So long as I’ve got the glove box off I’ll talk about this little device back here. What it is is it’s a cylinder with a spring in it and a plunger and I’ll just pull on the plunger. What that is is that’s a control for the glove box door and it controls how quickly or how slowly the door opens. It’s just a little nozzle with a valve in the end of that to control the speed of the air.

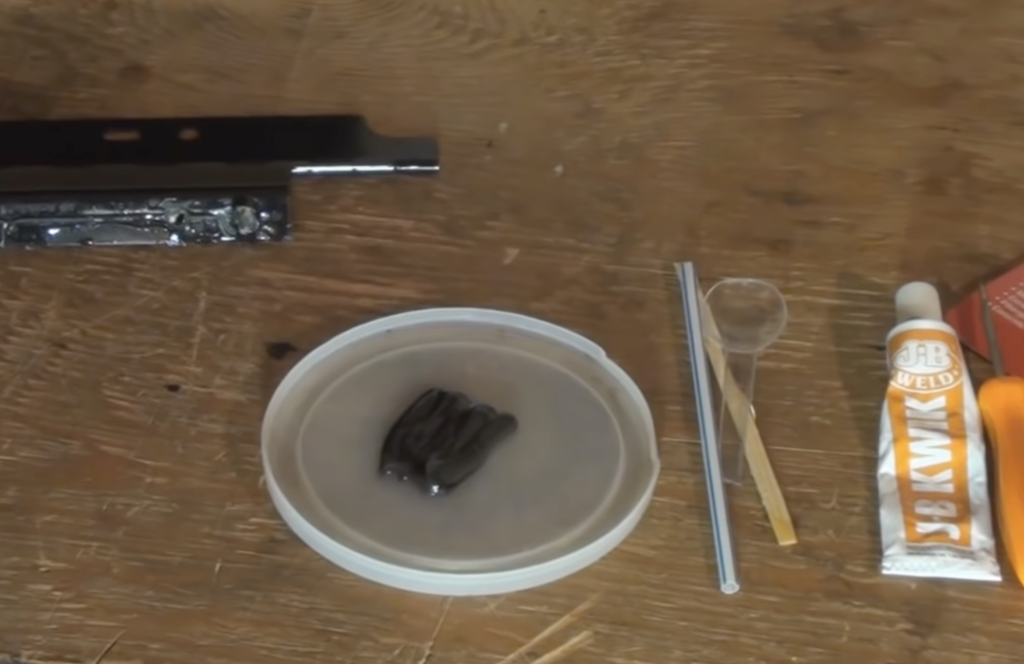
OK so I like to mix it up on, you know, old yoghurt container lids, that kind of thing. I’m going to use the JB Kwik 5 minute epoxy so I’m going to have to work quickly. I’m going to mix it 50:50 right here on the lid and you have to stir it extremely well so I like to use like a little wooden stirring stick, a little coffee swizzle or here I’ve got a little straw that’s good for it or even this little spoon – it’s just a little dessert spoon. Anyways it’ll be good for mixing epoxy as well, right? Like I said, you want to mix this up fifty-fifty.
Alright there’s a little pad of five lines all of about, I don’t know, an inch and a half long. OK there we go, it’s five lines. There we go, that little dessert spoon works just perfect, should have mixed more, actually. I’ll apply it across the back of this thing. You see I’m not being shy about getting it on here. You want lots of good goopy thick coverage so that no matter how I make contact on the other side, it’s going to stick and it’s going to make a permanent bond. Oh crap. Hurry, hurry, hurry.
Set-up and curing time
OK so now, I’m going to drop this in here right back to where it was before. That’s all there is to it. The gluing part’s not that difficult, of course. It’s all put back together now, here it is. We’re going to let that cure – as I said this is a five minute epoxy I used so if we were in a shop and I was trying to make a living doing this I’d be installing it in the car in, oh an hour or two, probably – however this is from my car and I have all the time in the world so I’m going to let it cure for twenty four hours.
Now for clean up all you really need is a wet cotton rag and you just rub on it. And as long as it hasn’t cured yet, this is true with just about any epoxy, as long as it hasn’t cured yet. So now we’re good to go, it feels really solid. It feels like it really made good contact so I’m just going to leave it alone until tomorrow.
OK and now that I know that that’s seven millimetres we’ll just come over here.
OK so it’s the next day, it’s not quite twenty-four hours but it’s quick setting. Alright so, you want to put this thing back in just the opposite to the way you took it out. Which was dip it in one corner and then dip it in the other corner. Temporarily close it on the latch. There we go. And now we can get underneath and start installing our screws. OK snug. So you just push that back up – there’s some little keepers here, one here and one there. OK got the wire here. There we go.
Reassembly
Alright so you just push that through together so that it clips. Make sure the switch is working. OK and just before we’re finished, there’s only one thing left to do and that’s connect the cord here that connects the slow-open piston that I showed you earlier to the side of the door. So I’ll just show you right in here that’s the anchor point that we just pull that up on to. I wish I could have shown you how I did that. What I did was I took it there on one screwdriver – I put it on the end of the screwdriver, I pushed the screwdriver to the target and then I took a second screwdriver and pushed it over so that it looped on.
There you go: another job well done.