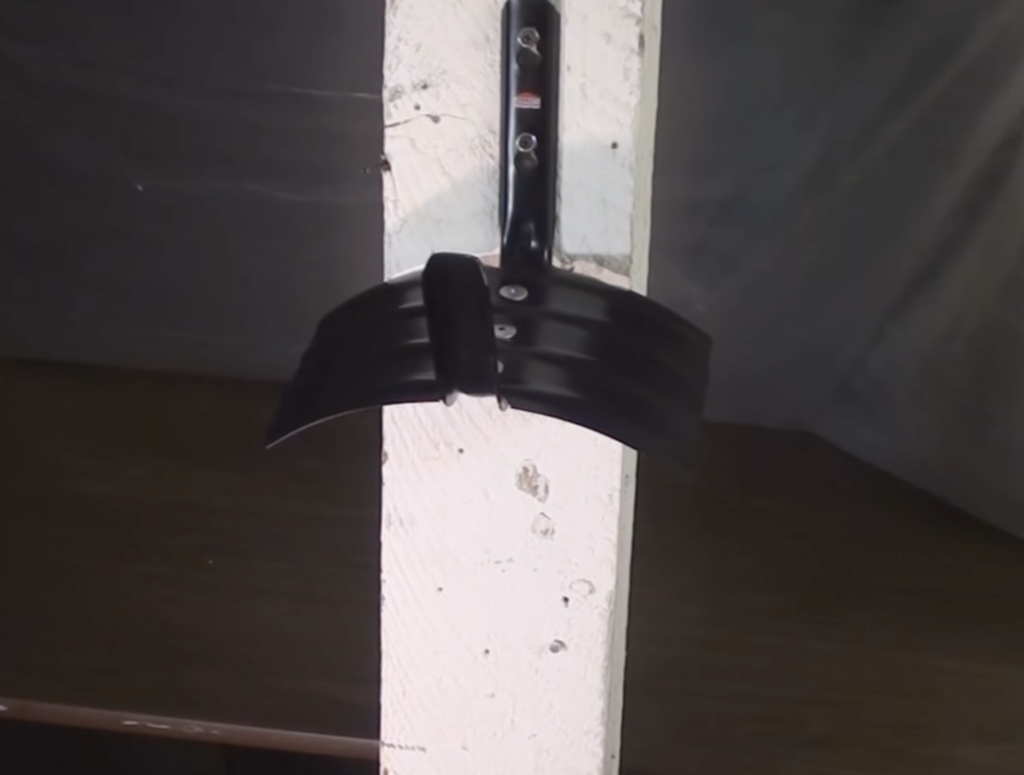
Pop rivets. Alright now here’s something that I know is a common problem because I used to work as a tree surgeon. We were often going into peoples’ yards and using their hoses to clean-up. And you’d find that the hose hanger was broken like this.
REPAIRS101SAVES10 (save $10 on $100)
REPAIRS101SAVES20 (save $20 on $200)
So I’m going to show you how to fix that using a pop rivet gun. And it’s real easy. And Fun. it’s fun because it’s easy.
Always broken

OK so here it is a typical hose hanger and of course this part has come off. OK there you go it was spot welded into place. You know they just. I guess they didn’t have their hearts in it or perhaps it was done a robot. Or perhaps the heat settings were just too low to make an effective weld. Screws that are holding it on the post, back them off a little bit.
You want to try and save money I understand, you know I sure do. And so every once in a while you think… “Well I don’t use the tool very often so I’ll just save money and buy a cheaper one”. But the fact of the matter is I didn’t save any money. Because I broke two cheap ones before I shelled out for this more expensive model right here. What’s good about it is that it’s got a steel stopper cast into the handle.
Rivet gun
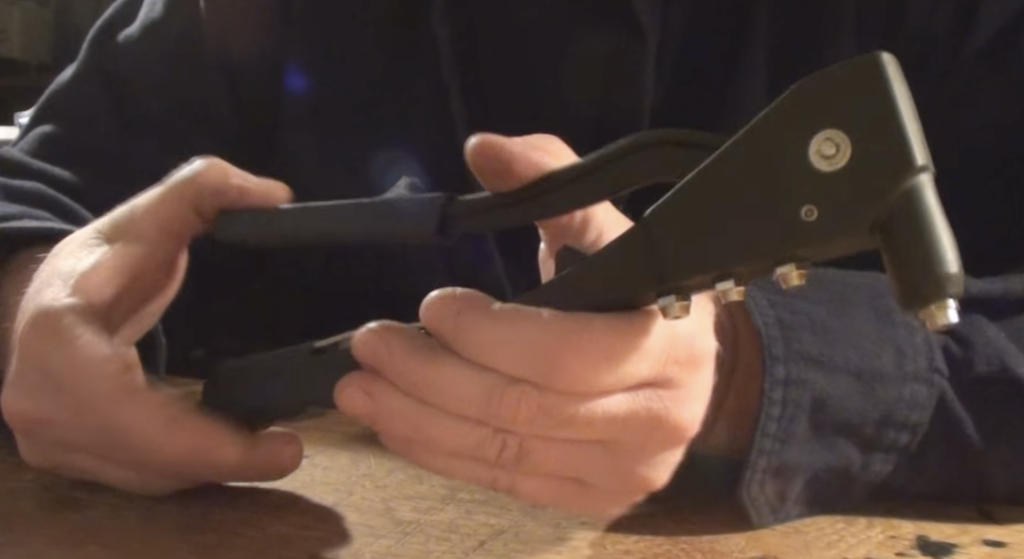
Alright, so I’ve got my rivet gun, it’s come with it’s own little wrench, right here, fits in the handle. So imagining I had to change the nozzle, which in fact I don’t because this is the right size. But I’m just going to show you, you know you’re going to put on the wrench that came with it. Or perhaps your own wrench if you have ring wrenches, those are the best of course. And this end you just want to unscrew that. There’s your nozzle. Trade it one of the other ones, say in the handle. OK there’s the secret is you need to have the handle squeezed shut in order to change the nozzle. Very simple, screw it down. You want to add a little bit of tension too but that was it – you saw it.
Here let me undo it and I’ll show you again. OK. Again, you have to have that handle squeezed down, and just add the tiniest bit of tension and that’s all. And then replace the nozzle that you’ve just changed back into the handle immediately before you get back to work so you don’t lose it. And again just that tiny little bit of tension in order to make sure it’s locked in place. Yeah don’t be in a hurry to undo this screw and figure out what’s inside there. Because it’s just a lot of very delicate little wedges and springs that you do not want to have to try and reassemble. It’s very challenging.
Rivet types
OK so real quick this is exactly what a pop rivet is OK. Not to be confused with the kind of rivets that they used to put sky scrapers together with. Now that was something entirely different. That looked something like this. This is not one of those rivets but this is something like what it would look like. And you would put it, you know, through two pieces of connecting steel. Then mash the end of it down with a pneumatic hammer and thereby it would be one solid piece. Unlike say a nut and a bolt combination that has a chance of coming apart. This is one solid piece with an interference on both sides.

Now the rivets on your jeans are something else entirely. And of course, they’re also rivets but there’s a cap on either side that’s squeezed together. And I imagine they’re put together by robots with some kind of hydraulic pliers device.
How it works
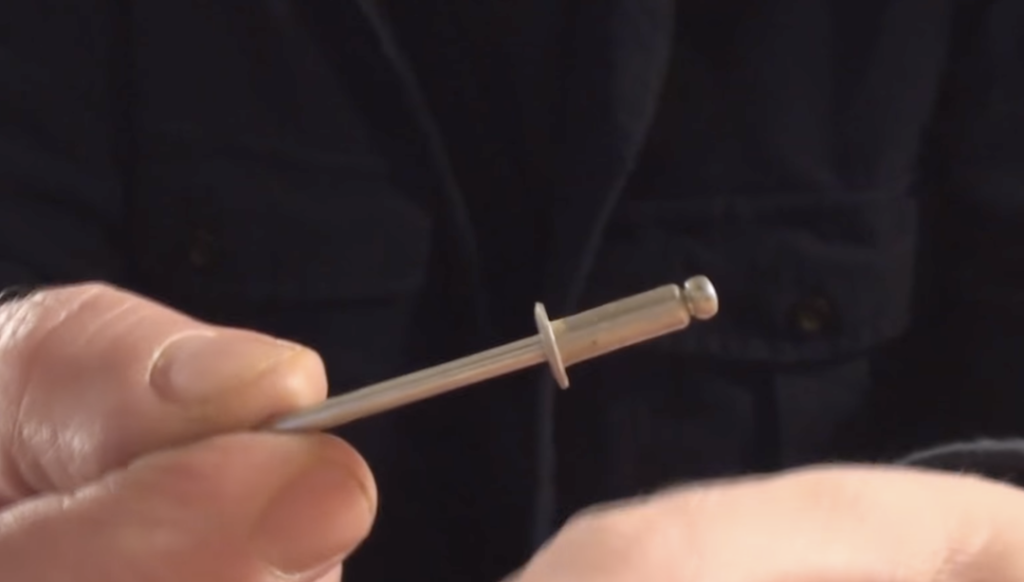
It’s basically a nail or a pin that’s fitted into this – let’s call it a collar, a shouldered collar. And the head of the pin is rounded. And the pop rivet gun accepts the stem and then it cinches up on it. OK now I’m going to show you OK once it’s installed this is how a pop rivet works.

OK I’ll just show you. What’s going on here is that the rivet gun is pulling on that pin. And it’s pulling it up and it’s pulling it up and it’s flaring out the other end. And so as I squeeze the gun together. Inside the shaft here are some spring loaded wedges that are used to clamp on to the pin and pull it in this direction. OK so we’re pulling on the pin and there it’s starting to flare the end.
Making it work

OK. Now, here’s the thing is you can see that it’s backed off so in the real world you’re going to have to move in on your work. Push down and accept some more of it and then squeeze and pull it up some more and when you get to the end of your stroke, again you’ve got this slack that you need to take up so you’re going to be able to push into it like that. And then pull again and eventually you’re going to get to the point where the tension is too great for the strength of the pin and the head will shear off.
See the way it’s all become distorted now I’m just going to the last squeeze. Here we go and this is the one that’s going to shear off the head so unfortunately it’s going to go flying. And then of course, there it is. Now that’s the shaft of the rivet I just showed you a second ago. Now it’s also worth noting that different rivets, even though they’re for the same size bore… They have different sizes now. That means that they’re designed to go through different thickness of material or perhaps more layers.
The fix
OK so after a little bit of digging around in my collection of pop rivets I’ve come up with these three. They’re the biggest and the heaviest duty that I’ve got for the job. So in order to select the correct drill bit size… You just want to match it to the size of the insert.
Keep in mind that although it’s counter-intuitive. I know people are constantly trying to put this into the hole they drill, that is the wrong end. This is the end that is held onto by the pop rivet gun and this is the end that gets inserted into the hole. So we’re just going to match it up we can try matching it up this way. See which one shadows, there we can see the drill bit completely shadows the and you can see again it’s pretty just barely visible. So that’ll be a really good match.
Clamp before drilling

Alright well we’ll just clamp this into place for drilling have to do it on a piece of wood like that and here’s a little tip when the wood comes up through the hole that your drill bit’s making, you’re already through. Just going to line it up, as I said you see that wood coming out, you know you’re through already. OK that’s the pilot hole, now we’ll switch it up and do the rivet hole.
OK and for the hook is the same deal we want to do a pilot hole right on the dimple that is left behind by the old spot weld. OK now so what’s left is dropping the rivet into the hole like that and fitting on the rivet gun like that. And it’s just a matter of squeezing it, the rivet gun does all the work.
OK well here we go these two on the ends turned out great and this one I let go loose just so that I could show you how to remove a pop rivet.
Pop rivet removal
Now I’m going to remove this one so I can put another one on so I can get it nice and flat like these two are. You just want to take a drill and put it right in the centre. You just want to lightly cut away at it like that until you see you’ve separated the rivet cap from the rivet stem. And now that that’s done, I’ll just show you the back here. This is what they look like on the back. See they’re expanded collars, expanded collar on the front quite nice. Nice and smooth not going to be any danger to my garden hose that’s for sure.
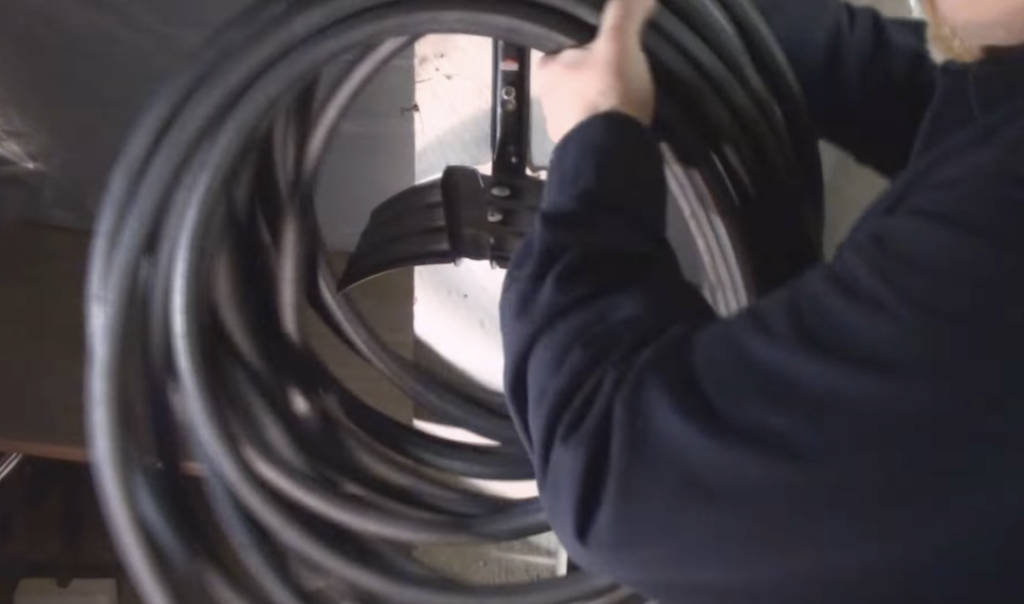
So I’ll just get one more. Again, drop it in, put on the pop rivet gun. Whoops. There’s a rivet stem still in this gun. There we go. Put on the pop rivet gun just like that and bam. We’ve got three. We’re ready to go and hang it back up. Put the screws back on that hold it to the wall. See it’s nice and stable. Where the spot welds broke we’ve got three rivets now and it’s nice and strong, it’s held on there good. Alright, we just throw up the hose and we’re finished.