[Vacuum quits]
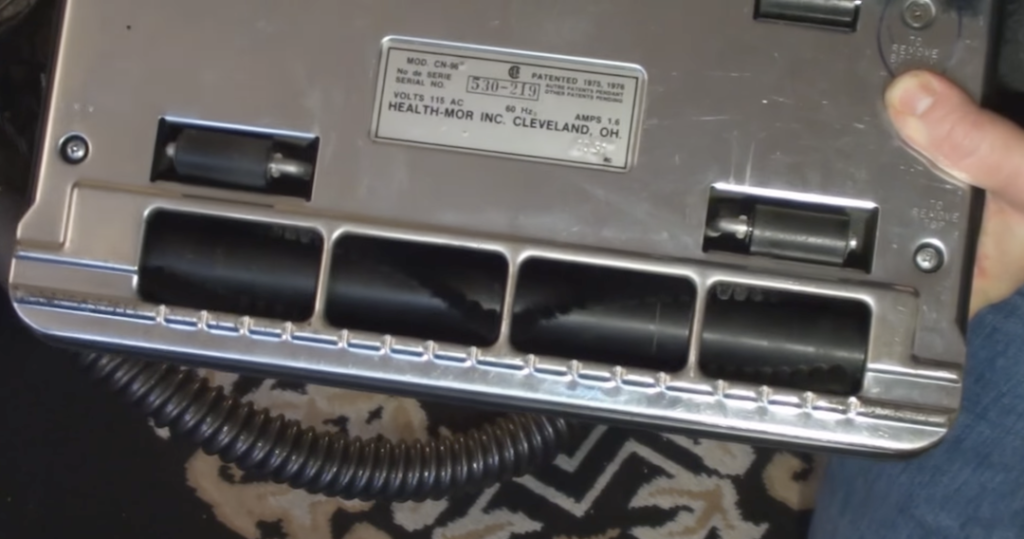
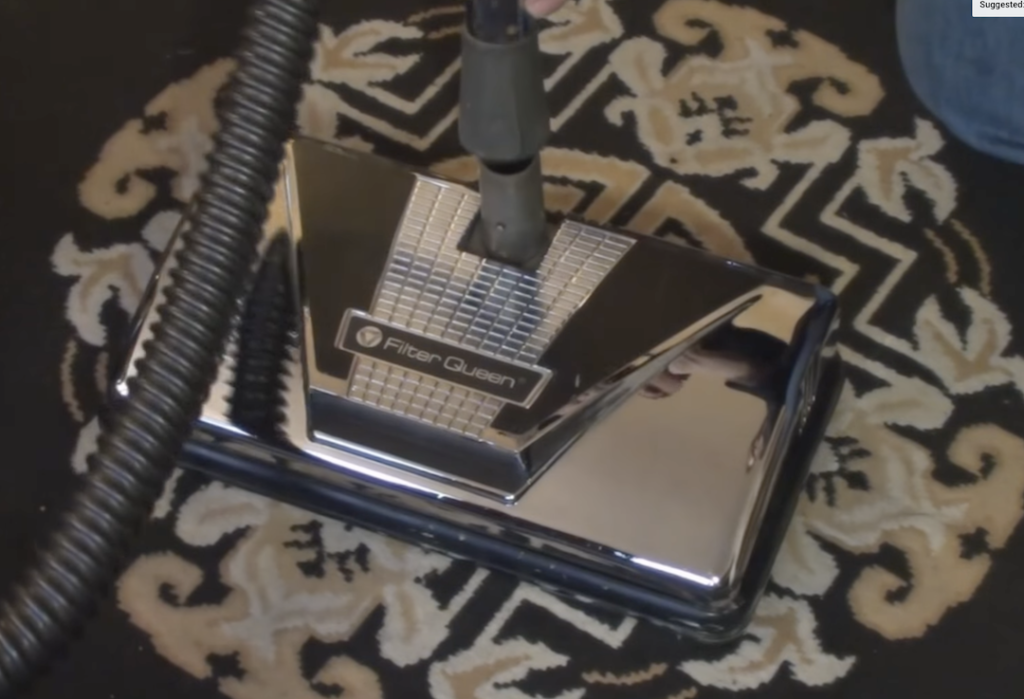
Today on Repairs101 we’re going to be changing the drive-belt on the power brush head for this vacuum cleaner – the Filter Queen Majestic.

Power off
OK now as with any repair on any appliance you want to disconnect its electrical supply before you get started. I’ve disconnected the power supply of course first and I’ve taken the power head off of the end of the wand just to make it easier to deal with. And, you know, it’s all predictably bound up with hair so you just want to get some scissors and cut and pull at it. OK so we want to get these screws out. These four screws here are going to take the cover off the top, this part here.

But what we want to do is take off the bottom plate so we can access the roller brush. We’re going to need a Phillips head screwdriver. The technical term for this is a recessed cruciform drive but it’s known universally as the Phillips. Just pull that off. OK got the two screws out and it just pulls off like that. Nice and easy and of course the company has provided: to adjust belt and brush or to adjust worn brush, and the instructions on how to do that.
Broken drive belt

There’s the belt. You can see that it’s no longer – oops – there you go. “Well there’s your problem right there, Verne.” Of course now in order to replace this broken belt I am going to have to take off the top cover.
Before I go any further to replace this broken belt here I’m going to remove the brush. It’s all bound up with hair, which we’ll remove. But the most important part in removing the belt – when you do you see all this horrible stuff that’s accumulated – you want to be sure that you’re keeping all the spacers and all the little all the little end pieces like that in the same place and indexed in the same position. Because you’ll see this has a unique shape and will only fit one way. And so you want to make sure that it goes back in the same way it came out.

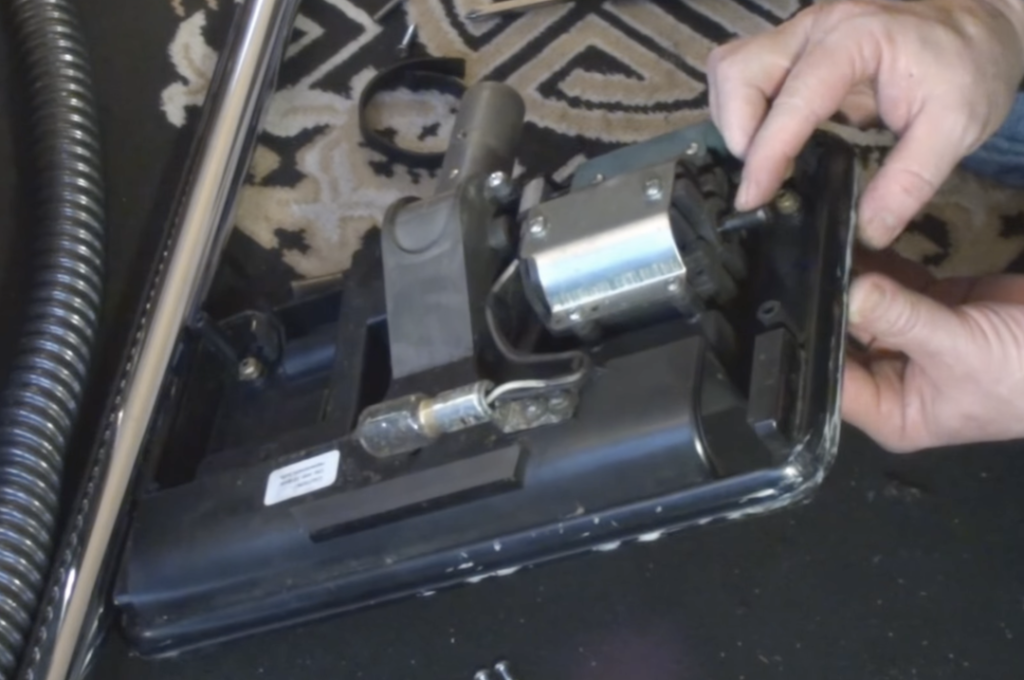
So once you’ve got the brush off you just take off the top cover. You just take the top cover off by removing these four screws here. Man it looks like I’m really going to have to vacuum now. Take these screws out. Alright. Take those, take those put them aside and just flip the top cover off and that gives us access to the drive shaft. There’s the drive motor there and there’s its drive shaft. And that’s what we’re trying to get access to.
Roller brush
Now before you go and put on the belt you’re going to want to examine the brush itself. And if you give a little roll test to the ends, well this one’s moving nice and loose. Pull it off and you can see there’s some crud. It looks like it’s been greased not too long ago so it’s moving pretty good. This other end on the other hand is very, very stiff. Pull that off and you can see that it’s all bound up with hair and debris. You just peel that out of there. Just get in there with the end of a screwdriver you know and look at the grab a seal pick if you’ve got one but this screwdriver’s working out just fine. There you go. Nice and clean. OK I’m just going to put a drop of tenacious oil in here.
Reassembly
Remember what I said about these pieces here and how they’re unique and you’ve got to keep them in the same place. And they will only index in one direction.

Of course on the end of the axis are these cards that you can peel off. Just peel them off like that. They ride in this groove which also fills with hair and needs to be cleared in order for it to be free running. Digging away at it like this with the scissors, any knife or what-have-you any kind of scraping device. Pull on it like that and then once that’s clear you can put this divider back on.
It’s very simple, again look at the other one as well. Just going to peel that off, have a look inside. Nowhere near as bad but of course you can get something so you just give it a little dig with the scissors and out it comes. So this is regular routine maintenance for a machine like this. You know you want to get a lifetime out of a machine because it’s a very expensive thing to purchase. And this is the kind of maintenance you can do on it to ensure that you will get a lifetime of use out of your appliances. We’re just going to put those back on just like that one.
Clean up before reassembly
The brush has to go in the right way to accommodate for the belt drive area right here. So when you’ve got your brush cleaned to your satisfaction. You got all the hair out at the dividers here and the end bearings as well. Then you’ll be ready to put it back in. Now of course the first thing you want to do is put the new belt on. Because it’s going to have to fit through here and reach back to the motor.
So that it all drops right in sorry from end to end … Let’s see… You’re going to line that end up. And come over here and line this end up so that it drops in like that. Oops – that goes in that slot just like that. OK so now the roller’s been put back and the belt is here. Because I don’t like fumbling with things if I don’t have to. I’m going to put these floor rollers back and see they just snap in to place. Right there and the other one came right apart. Fell out but I’ll just put the axle back in and then snap it right back into there. They’re very loose fitting. And now I going to put the now I’m going to put the bottom plate back on. Just to make sure all that stuff stays in place. While I’m reattaching the belt.
Torque talk
So the bottom plate was just held on with these two screws. Spin those back in real quick. Now when you’re driving the screws home keep in mind what I always say about torque. And that is don’t over-torque fasteners. In this case you’ve got steel screws biting into a plastic housing. And in a contest between steel and plastic and in this case steel will win. And it will just destroy the plastic and then you’ll have nothing left to bite into anymore.
So now I’ve got the roller in place, I can flip it over. My drive belt here right in front of the drive motor. And I’m just going to give it a tug with my little Phillips head screwdriver. Just hold onto it like that, just going to pull it over, slip it on and it’s in place. And it will self-centre. OK it will find its own preferred place to ride. There we go just paddle it around by hand a little bit. You can see it’s self-centring.

Vacuum headlight
If your light-bulb is burned out now would be a good time to change it. It’s just a spring loaded bayonet mount type light-bulb. Same kind you have in old automotive. You see, two post. Push it in bayonet style mount push in and turn. Push in and turn to pull out, push in and turn to mount. Four more screws and we’re done. Here we go. OK I’ll just spin down the last screw. And we are ready to plug the machine back in and clean up the mess. So all I need to do is reconnect the wand, connect the power source, I’ve already plugged the machine in.
Sweet.